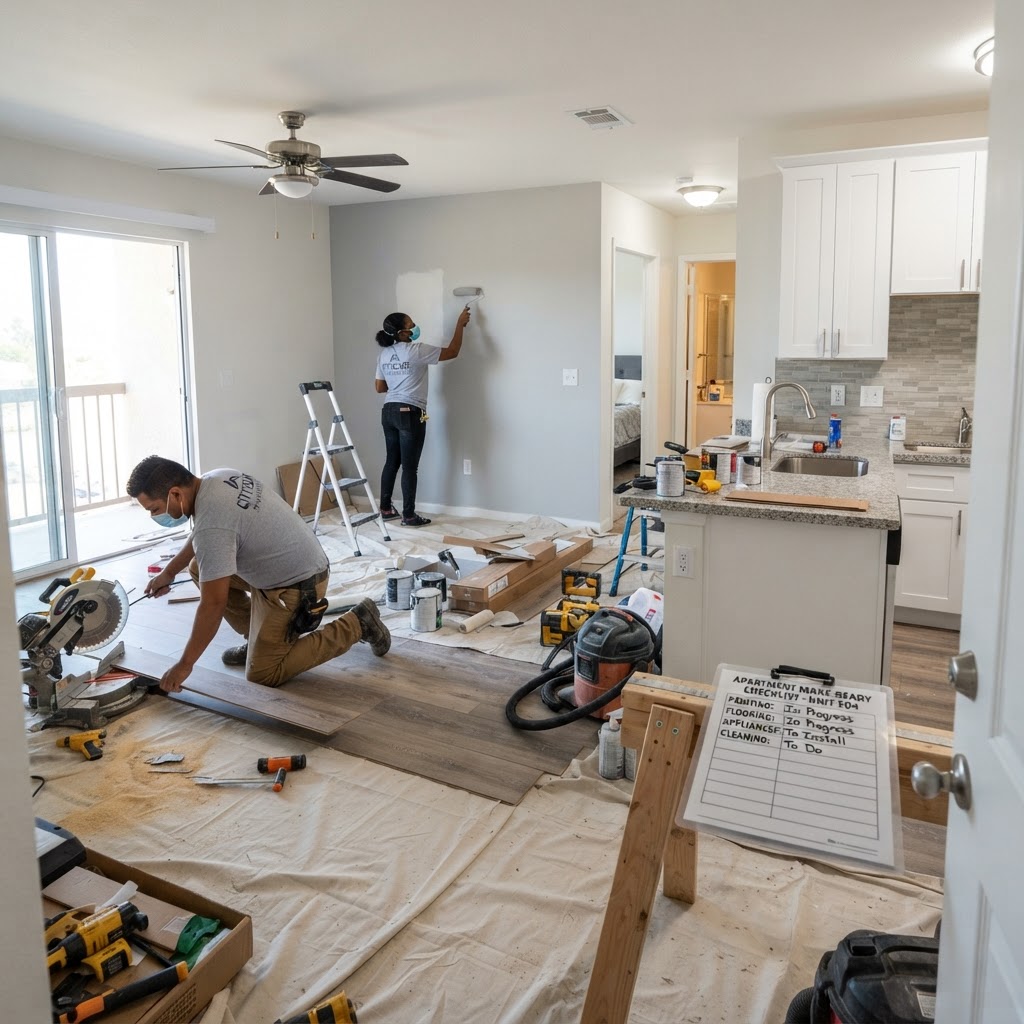
Multifamily Property Turnover Checklist: Streamlining the Make-Ready Process
A well-executed unit turnover process minimizes vacancy time, reduces maintenance costs, and improves resident satisfaction. This comprehensive checklist covers every step of the make-ready process, from move-out inspection to new resident welcome.
The Cost of Slow Turnovers
Every day a unit sits vacant costs money. For a $1,200/month unit, each vacant day costs $40. A turnover that takes 21 days instead of 7 costs nearly $600 in lost rent alone — before accounting for additional maintenance costs and marketing expenses.
Average turnover costs per unit:
- Paint: $400-$800
- Flooring replacement: $600-$2,500
- Appliance replacement: $500-$2,000
- Cleaning: $150-$400
- General repairs: $200-$800
- Marketing and leasing: $200-$500
- Lost rent (vacancy): $400-$1,600
Total per turnover: $2,450-$8,600
Streamlining the process by even 3-5 days saves hundreds per unit and improves resident satisfaction.
Phase 1: Move-Out Inspection (Day 0)
Pre-Move-Out
- [ ] Send 30-day notice reminder to resident
- [ ] Schedule move-out inspection date and time
- [ ] Provide resident with move-out checklist and cleaning expectations
- [ ] Confirm forwarding address for deposit return
- [ ] Schedule vendor walk-through if needed
Move-Out Day Inspection
- [ ] Document unit condition with photos and video
- [ ] Complete move-out inspection form with resident present
- [ ] Collect keys, fobs, garage remotes, and mailbox keys
- [ ] Check for abandoned personal property
- [ ] Note damages beyond normal wear and tear
- [ ] Verify all appliances, fixtures, and systems function
- [ ] Check for pest infestations
- [ ] Test smoke detectors and CO alarms
- [ ] Inspect for mold, water damage, or leaks
- [ ] Read utility meters if separately metered
Phase 2: Assessment and Scope of Work (Day 1-2)
Damage Assessment
- [ ] Compare move-in and move-out condition reports
- [ ] Identify chargeable damages vs. normal wear and tear
- [ ] Estimate repair costs for each item
- [ ] Determine scope: light refresh vs. full renovation
- [ ] Order credit and background for security deposit disposition
Scope of Work Creation
- [ ] List all required repairs by trade
- [ ] Order materials and supplies
- [ ] Schedule vendors and contractors
- [ ] Set target completion date (aim for 7-10 days)
- [ ] Assign project coordinator
- [ ] Create vendor access schedule to avoid conflicts
Phase 3: Repairs and Renovation (Day 2-7)
General Repairs
- [ ] Patch and repair drywall damage
- [ ] Replace damaged blinds or window treatments
- [ ] Repair or replace damaged doors and hardware
- [ ] Fix leaky faucets and running toilets
- [ ] Replace damaged cabinets or hardware
- [ ] Repair ceiling textures to match
- [ ] Replace damaged baseboards and trim
Painting
- [ ] Patch nail holes and wall damage
- [ ] Caulk gaps around trim and baseboards
- [ ] Tape and protect floors, fixtures, and hardware
- [ ] Prime repaired areas and dark walls
- [ ] Paint ceilings (if stained or discolored)
- [ ] Paint walls with approved color
- [ ] Paint doors and trim if needed
- [ ] Remove tape and touch up
Flooring
- [ ] Remove old carpet, vinyl, or damaged flooring
- [ ] Inspect and prepare subfloor
- [ ] Replace subfloor if water damaged
- [ ] Install new flooring (carpet, LVP, or tile)
- [ ] Install baseboards and transitions
- [ ] Clean and polish hard surface floors
Kitchen
- [ ] Clean or replace appliances as needed
- [ ] Replace broken or missing cabinet hardware
- [ ] Reseal sink and countertops
- [ ] Clean range hood and replace filters
- [ ] Test dishwasher and garbage disposal
- [ ] Replace water supply lines if leaking
Bathroom
- [ ] Re-caulk tub, shower, and sink areas
- [ ] Replace showerhead if damaged or outdated
- [ ] Reseal toilet base
- [ ] Replace toilet seat
- [ ] Clean or replace exhaust fan
- [ ] Replace damaged vanity or mirror
- [ ] Check for and repair tile grout issues
HVAC and Utilities
- [ ] Replace HVAC filters
- [ ] Test heating and cooling
- [ ] Inspect and clean condensate drain
- [ ] Test water heater temperature and relief valve
- [ ] Verify gas, electric, and water are active
- [ ] Test all electrical outlets and switches
- [ ] Replace burned-out light bulbs with LED
Phase 4: Deep Cleaning (Day 7-8)
- [ ] Clean all windows, blinds, and tracks
- [ ] Deep clean kitchen including inside appliances
- [ ] Scrub and sanitize bathrooms
- [ ] Clean all baseboards, doors, and trim
- [ ] Vacuum and shampoo carpets
- [ ] Mop and polish hard surface floors
- [ ] Clean light fixtures and replace bulbs
- [ ] Wipe down all cabinets inside and out
- [ ] Clean patio/balcony if applicable
- [ ] Remove all trash and debris
- [ ] Pest control treatment
Phase 5: Final Inspection (Day 8-9)
- [ ] Walk through with scope of work checklist
- [ ] Verify all repairs completed to standard
- [ ] Test all appliances and systems
- [ ] Check paint touch-ups and finish quality
- [ ] Verify cleanliness meets standard
- [ ] Take completion photos for records
- [ ] Install new air freshener
- [ ] Confirm unit is rent-ready
- [ ] Release unit to leasing team
Phase 6: Marketing and Leasing (Day 9+)
- [ ] Update unit listing with new photos
- [ ] Set competitive rental rate
- [ ] Schedule showing availability
- [ ] Prepare welcome packet for new resident
- [ ] Schedule move-in orientation
- [ ] Prepare new lease documents
- [ ] Order new keys and fobs
Tips for Faster Turnovers
- Pre-schedule vendors — Have painters, flooring, and cleaning teams on standing schedules
- Standardize materials — Use the same paint colors, flooring, and fixtures across units
- Maintain inventory — Keep common replacement parts in stock
- Use checklists — Never rely on memory for turnover tasks
- Parallel processing — Schedule trades simultaneously when possible
- Digital documentation — Use property management software with mobile inspection tools
- Quality control — Inspect before releasing to leasing, not after
- Resident communication — Set clear expectations for move-out condition
Conclusion
A structured, well-documented turnover process reduces vacancy time, controls maintenance costs, and ensures consistent quality across your portfolio. By following this checklist and leveraging coordinated vendor management, property managers can reduce average turnover time from 21 days to 7-10 days, saving thousands per unit annually.