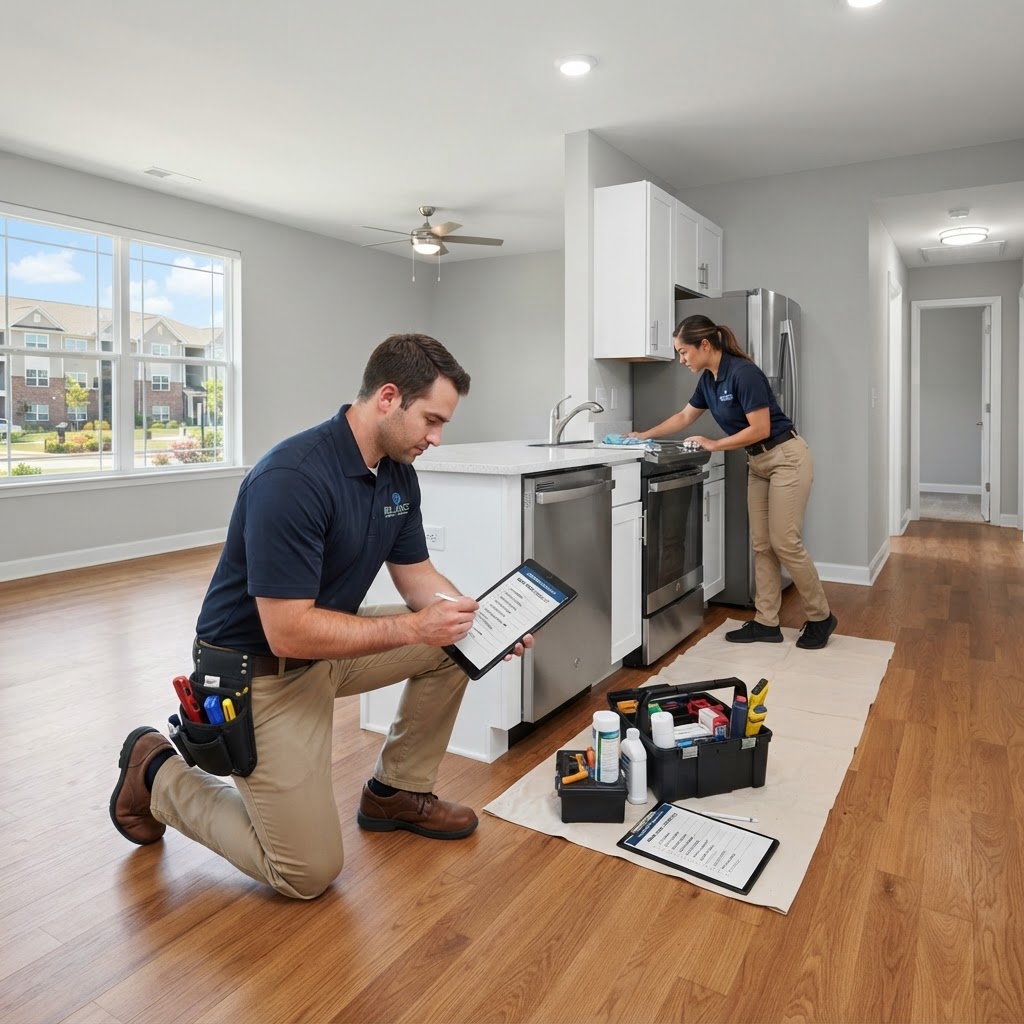
Multifamily Make-Ready Checklist: Complete Turn Process Guide
The make-ready (or turn) process is the sequence of tasks required to prepare a vacant apartment unit for the next resident. A well-organized make-ready process reduces vacancy loss, controls costs, and ensures consistent unit quality.
The Make-Ready Process Overview
- Move-out inspection (Day 0–1)
- Scope development (Day 1–2)
- Vendor scheduling (Day 2–3)
- Repairs and upgrades (Day 3–7)
- Painting (Day 4–6)
- Flooring (Day 5–7)
- Cleaning (Day 7–8)
- Final inspection (Day 8–9)
- Lease-ready (Day 9–10)
Target: Complete make-ready in 7 to 10 days from move-out to lease-ready.
Phase 1: Move-Out Inspection (Day 0–1)
Within 24 Hours of Vacancy
- Confirm unit is vacant and keys returned
- Take date-stamped photos of every room
- Document condition of all surfaces and fixtures
- Note any damage beyond normal wear and tear
- Verify all appliances are present
- Check for pest signs
- Inspect for pet damage
Phase 2: Scope Development (Day 1–2)
Interior Assessment
- Walls: Note all holes, scratches, marks, and damaged areas
- Ceilings: Check for water stains, cracks, damage
- Doors: Check for damage, functionality, hardware
- Windows: Check glass, screens, locks, operation
- Cabinets: Check doors, drawers, hardware, condition
- Countertops: Note burns, scratches, damage
- Appliances: Test each appliance; note age and condition
- Plumbing fixtures: Check for leaks, damage, functionality
- Electrical: Test all outlets, switches, fixtures
- Flooring: Assess wear, damage, stains, remaining life
Scope Document Creation
- Create detailed work order for each trade
- Specify materials (paint color, flooring type, etc.)
- Note which items are repair vs. replace
- Estimate time required for each task
Phase 3: Vendor Scheduling (Day 2–3)
Order of Operations
- Demolition/removal — Remove old flooring, damaged drywall, old appliances
- Drywall repairs — Patch holes, repair damage
- Plumbing repairs — Fix leaks, replace fixtures
- Electrical repairs — Fix outlets, switches, fixtures
- Cabinet repairs — Fix or replace damaged cabinets
- Painting — Prime and paint walls, ceilings, trim
- Flooring installation — After paint is dry
- Appliance installation — After flooring
- Blinds/shades — Install after paint
- Final cleaning — Last step before inspection
Phase 4: Repairs and Upgrades (Day 3–7)
Drywall Repairs
- Patch all holes (small holes with spackle, large with mesh and compound)
- Repair cracks with mesh tape and compound
- Replace damaged drywall sections
- Sand repairs smooth
- Prime repaired areas
Plumbing Repairs
- Fix all leaks (faucets, toilets, supply lines)
- Replace worn faucet washers or cartridges
- Clear slow drains
- Replace damaged supply lines
- Check toilet for proper flush and seal
Electrical Repairs
- Replace broken outlet covers
- Fix loose outlets or switches
- Replace non-functional outlets or switches
- Test GFCI outlets
- Replace burned-out light bulbs (LED)
- Check smoke detector and CO detector
Phase 5: Painting (Day 4–6)
Preparation
- Remove switch plates and outlet covers
- Tape off baseboards, trim, windows
- Cover floors with drop cloths
- Fill any remaining nail holes
Painting
- Prime repaired areas and dark walls
- Paint ceiling (if needed)
- Cut in walls (edges, corners)
- Roll walls (2 coats for full coverage)
- Paint trim and baseboards
Quality Standards
- No drips or runs
- Full coverage (no thin spots)
- Clean lines at trim and ceiling
- No paint on switches, outlets, or hardware
Phase 6: Flooring (Day 5–7)
Flooring Removal
- Remove old carpet and padding
- Remove old LVT, tile, or laminate
- Remove old adhesive as needed
- Inspect subfloor for damage
- Clean subfloor thoroughly
Flooring Installation
- Install new flooring per manufacturer specs
- Proper acclimation of materials
- Correct underlayment if required
- Transition strips at doorways
- Baseboard/shoe mold installation after flooring
Phase 7: Cleaning (Day 7–8)
Deep Cleaning Checklist
- Kitchen: Clean all appliances inside and out, cabinets, countertops, sink, backsplash
- Bathroom: Scrub tub, shower, toilet, sink, vanity, mirrors, tile, grout
- Floors: Mop/sweep all floors; clean baseboards
- Walls: Wipe down marks and scuffs
- Windows: Clean interior glass, sills, tracks
- Doors: Clean doors and hardware
- Vents: Clean HVAC vents and returns
- Blinds: Clean or replace
- Light fixtures: Clean fixtures and replace bulbs
Final Touches
- Replace HVAC filter
- Install new toilet seats
- Replace batteries in smoke/CO detectors
- Check all locks and keys
- Touch up any paint scuffs
Phase 8: Final Inspection (Day 8–9)
Quality Inspection Checklist
- All repairs completed to standard
- Paint is clean and complete
- Flooring is properly installed
- All appliances work properly
- All plumbing functions (no leaks)
- All electrical works
- Smoke and CO detectors operational
- Unit is thoroughly cleaned
- No debris or trash left behind
Tips for Faster Turns
Pre-Schedule Vendors
Have vendors on standby for turns. When a unit goes vacant, vendors are already scheduled.
Standardize Materials
Use the same paint color, flooring type, and appliance models across the property.
Use a Single Turn Vendor
One vendor handling the entire turn eliminates coordination delays and can save 10 to 20 percent.
How Auxi Services Can Help
Auxi Services provides complete multifamily make-ready services including turnkey turn management, standardized scopes and quality standards, multi-trade crews for fast turn times, real-time progress tracking with photo verification, turn cost tracking, appliance replacement, blinds and fixture installation, and deep cleaning services. Contact Auxi Services for make-ready services.